FAQs

|
Working With 3D Printed Parts:
Today, there are many different technologies and processes that are collectively referred to as "3D printing". After much testing and evaluation of the various technologies we have carefully chosen materials, printers, and post-processing techniques that produce parts with physical properties that will be familiar to modelers used to working with cast resin and injection molded parts. Our 3D printed parts are made of many layers of UV cured resin and have similar hardness and strength to cast resin. They are typically much lighter in weight than cast resin parts. There are also some other important differences that you should also be aware of. |
|
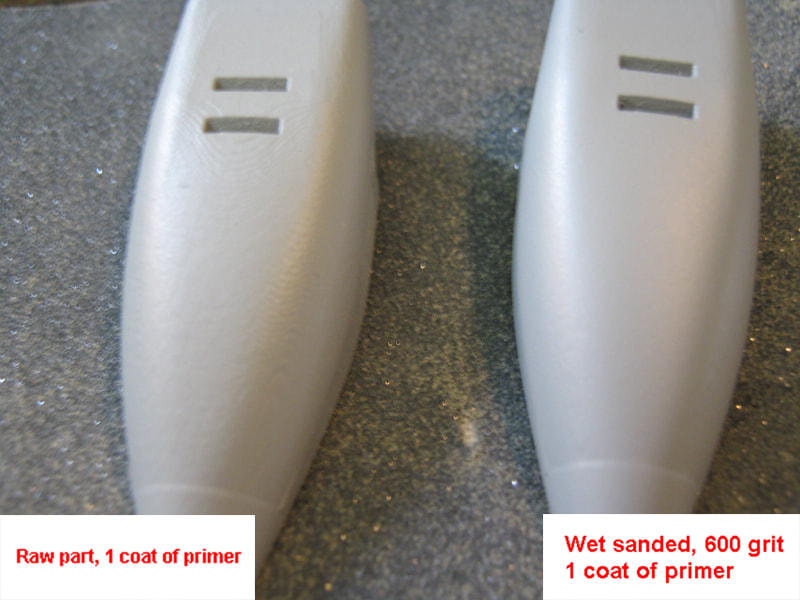
Layering:
All parts are 3D printed in discrete layers that can be up to 32 microns thick. While we make every effort to minimize the visibility of the layering, you may see small step-marks on the part, particularly on large, smooth, curved surfaces. We recommend that you first prime the part with a high-quality primer. When the primer is dry, wet-sand to even the surfaces. Usually just a few minutes with a wet-dry sandpaper (from 320 to 600 grit) is all that is required. On smaller, more detailed parts any visible layering pattern can usually be eliminated with a few coats of a high-quality spray primer. |
|
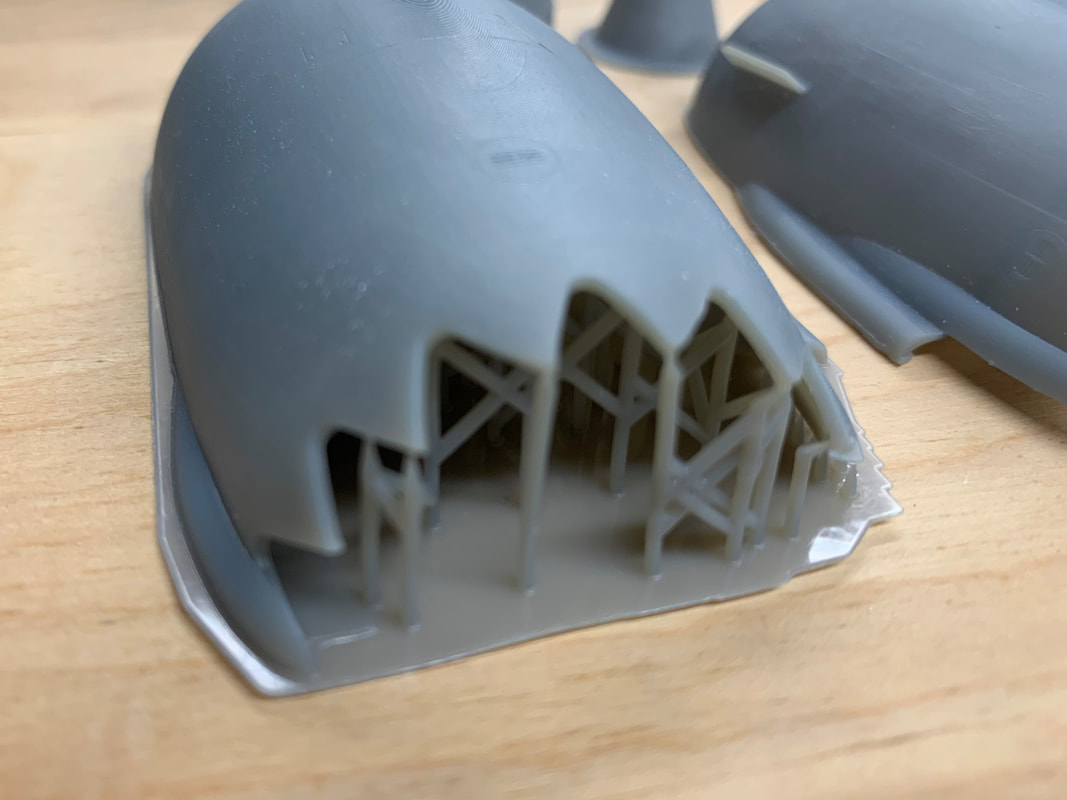
Resin Supports:
The 3D printing process uses resin support columns during printing. These supports are made of the same resin as the part. Carefully remove the supports with sprue cutters, utility knife, or cuticle scissors. Depending on the geometry of the part, the supports may leave small dimples on the part surface where they attached. Lightly wet sand these areas. |
|
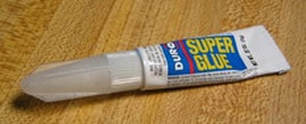
Assembly:
You can assemble parts using cyanoacrylate glue (superglue or equivalent) or two-part epoxy. Styrene cement and water-based glues will not work. |

|
Clear Parts:
Clear parts are made from vacuum formed plastic. They are formed using ultra-high-resolution 3D-printed molds using the same CAD data as the rest of the model to ensure accurate fit. |

|
Decals:
Some of our products come with printed decals included. In other cases decal sheets may be sold separately. See the product descriptions to know for sure. Our printed decal sheets are professionally printed on water slip decal film with continuous carrier by DRAWDecal and come with application instructions. In all cases you have the option to download and print your own decals from our Decal files page. |
|
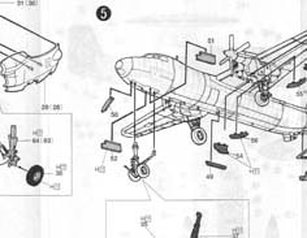
Assembly Instructions:
Download assembly instruction sheets from our Instructions page |